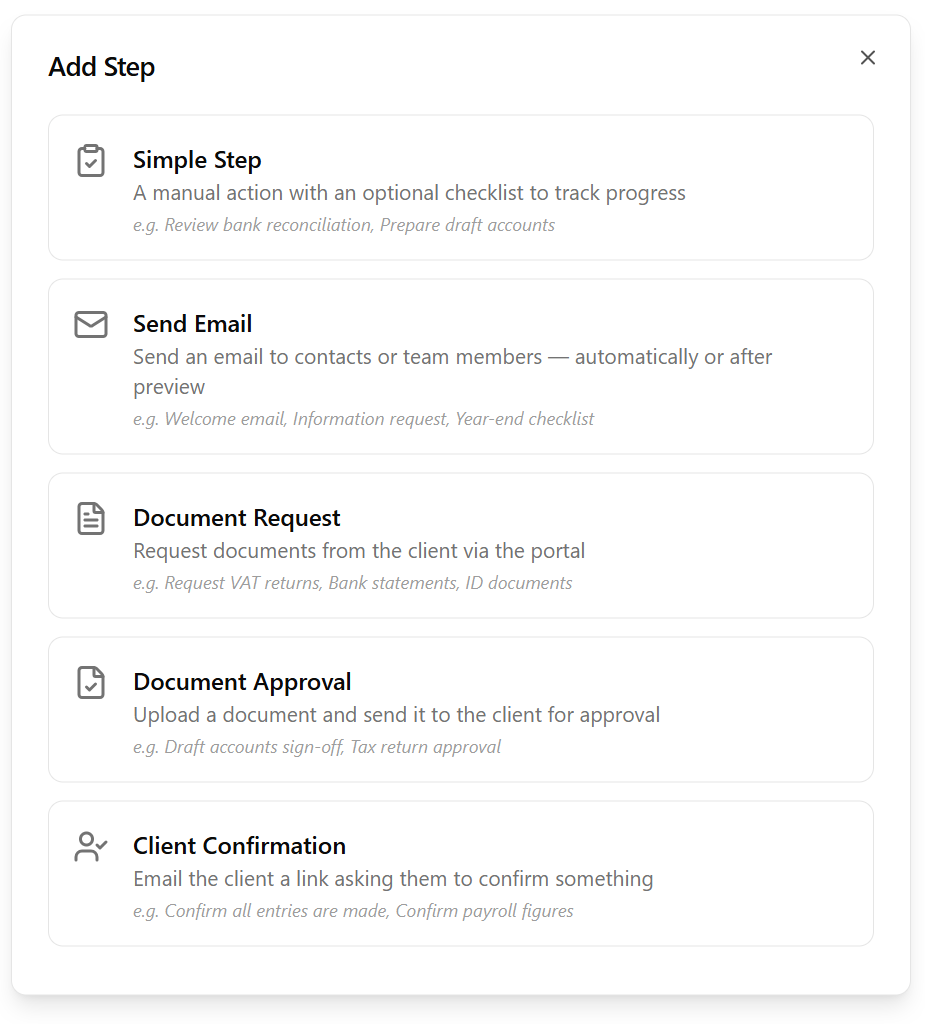
Every workflow step has a type that determines what happens when it executes. There are eight types:
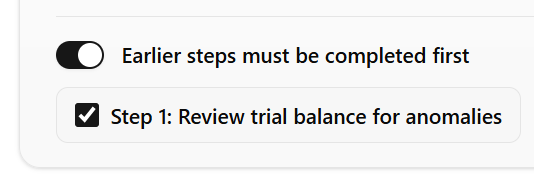
- Simple Step — a manual checklist item. Someone does the work, then marks it complete. This is the default for most steps
- Send Email — sends an email to the client or team members as part of the workflow
- Document Request — creates a document request and sends it to the client, then waits for their response
- Document Approval — sends a document to the client for approval, then waits for them to approve or reject it
- Client Confirmation — emails the client asking them to confirm something (e.g. "all accounting entries have been made"), then waits for them to click a confirmation link
- Send Form — sends a form to the client to collect information, then completes when they submit it
- Update Client Record — shows the assigned user a focused form of just the client fields (standard or custom) that need setting, so they can update them without leaving the task
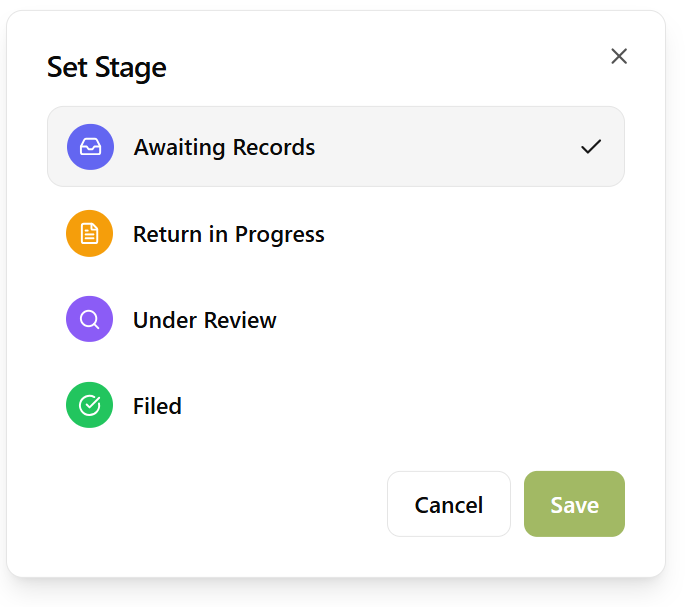
- Set Service Stage — automatically updates the stage on the client's service when the step runs
You choose the type when building the workflow template. A step-by-step wizard guides you through the configuration options for each type, making it straightforward to set up even the more advanced step types.
None of these step types require the client to sign up to a portal. Document requests, approvals, forms, and confirmations all reach the client by secure email link — so every step works for every client, whether or not they've logged in.